Installation

1. how much sod do you need?
To measure the area you must take the length in feet and multiply by the width in feet and this will give you the square feet needed. Best Quality Sod would be happy to help with estimating quantity.
(Example – 12’ x 10’ = 120 square feet)
In order to figure out how much sod you need for your project you will need to measure the areas that you plan to sod.
Grab a pen, paper & measuring tape and head outside to jot down some measurements.
It can seem daunting to do the math, but it’s all going to start with measuring.

2. Base Preparation
Remove any existing weeds or stones and work the soil by using a rototill or spade to a depth of 4 to 6 in. Rake the soil bed smooth and level. Eliminate drainage problems by having the soil slope away from houses or buildings.
The base should be approximately an inch lower then final grade to allow for roots and soil that come on the sod. For best results, test your soil and add appropriate fertilizer.
Best Quality Sod would be happy to help with testing the soil and suggesting the best fertilizer for optimal growth. Finally roll the area lightly and adjust any low areas.

3. Laying Sod
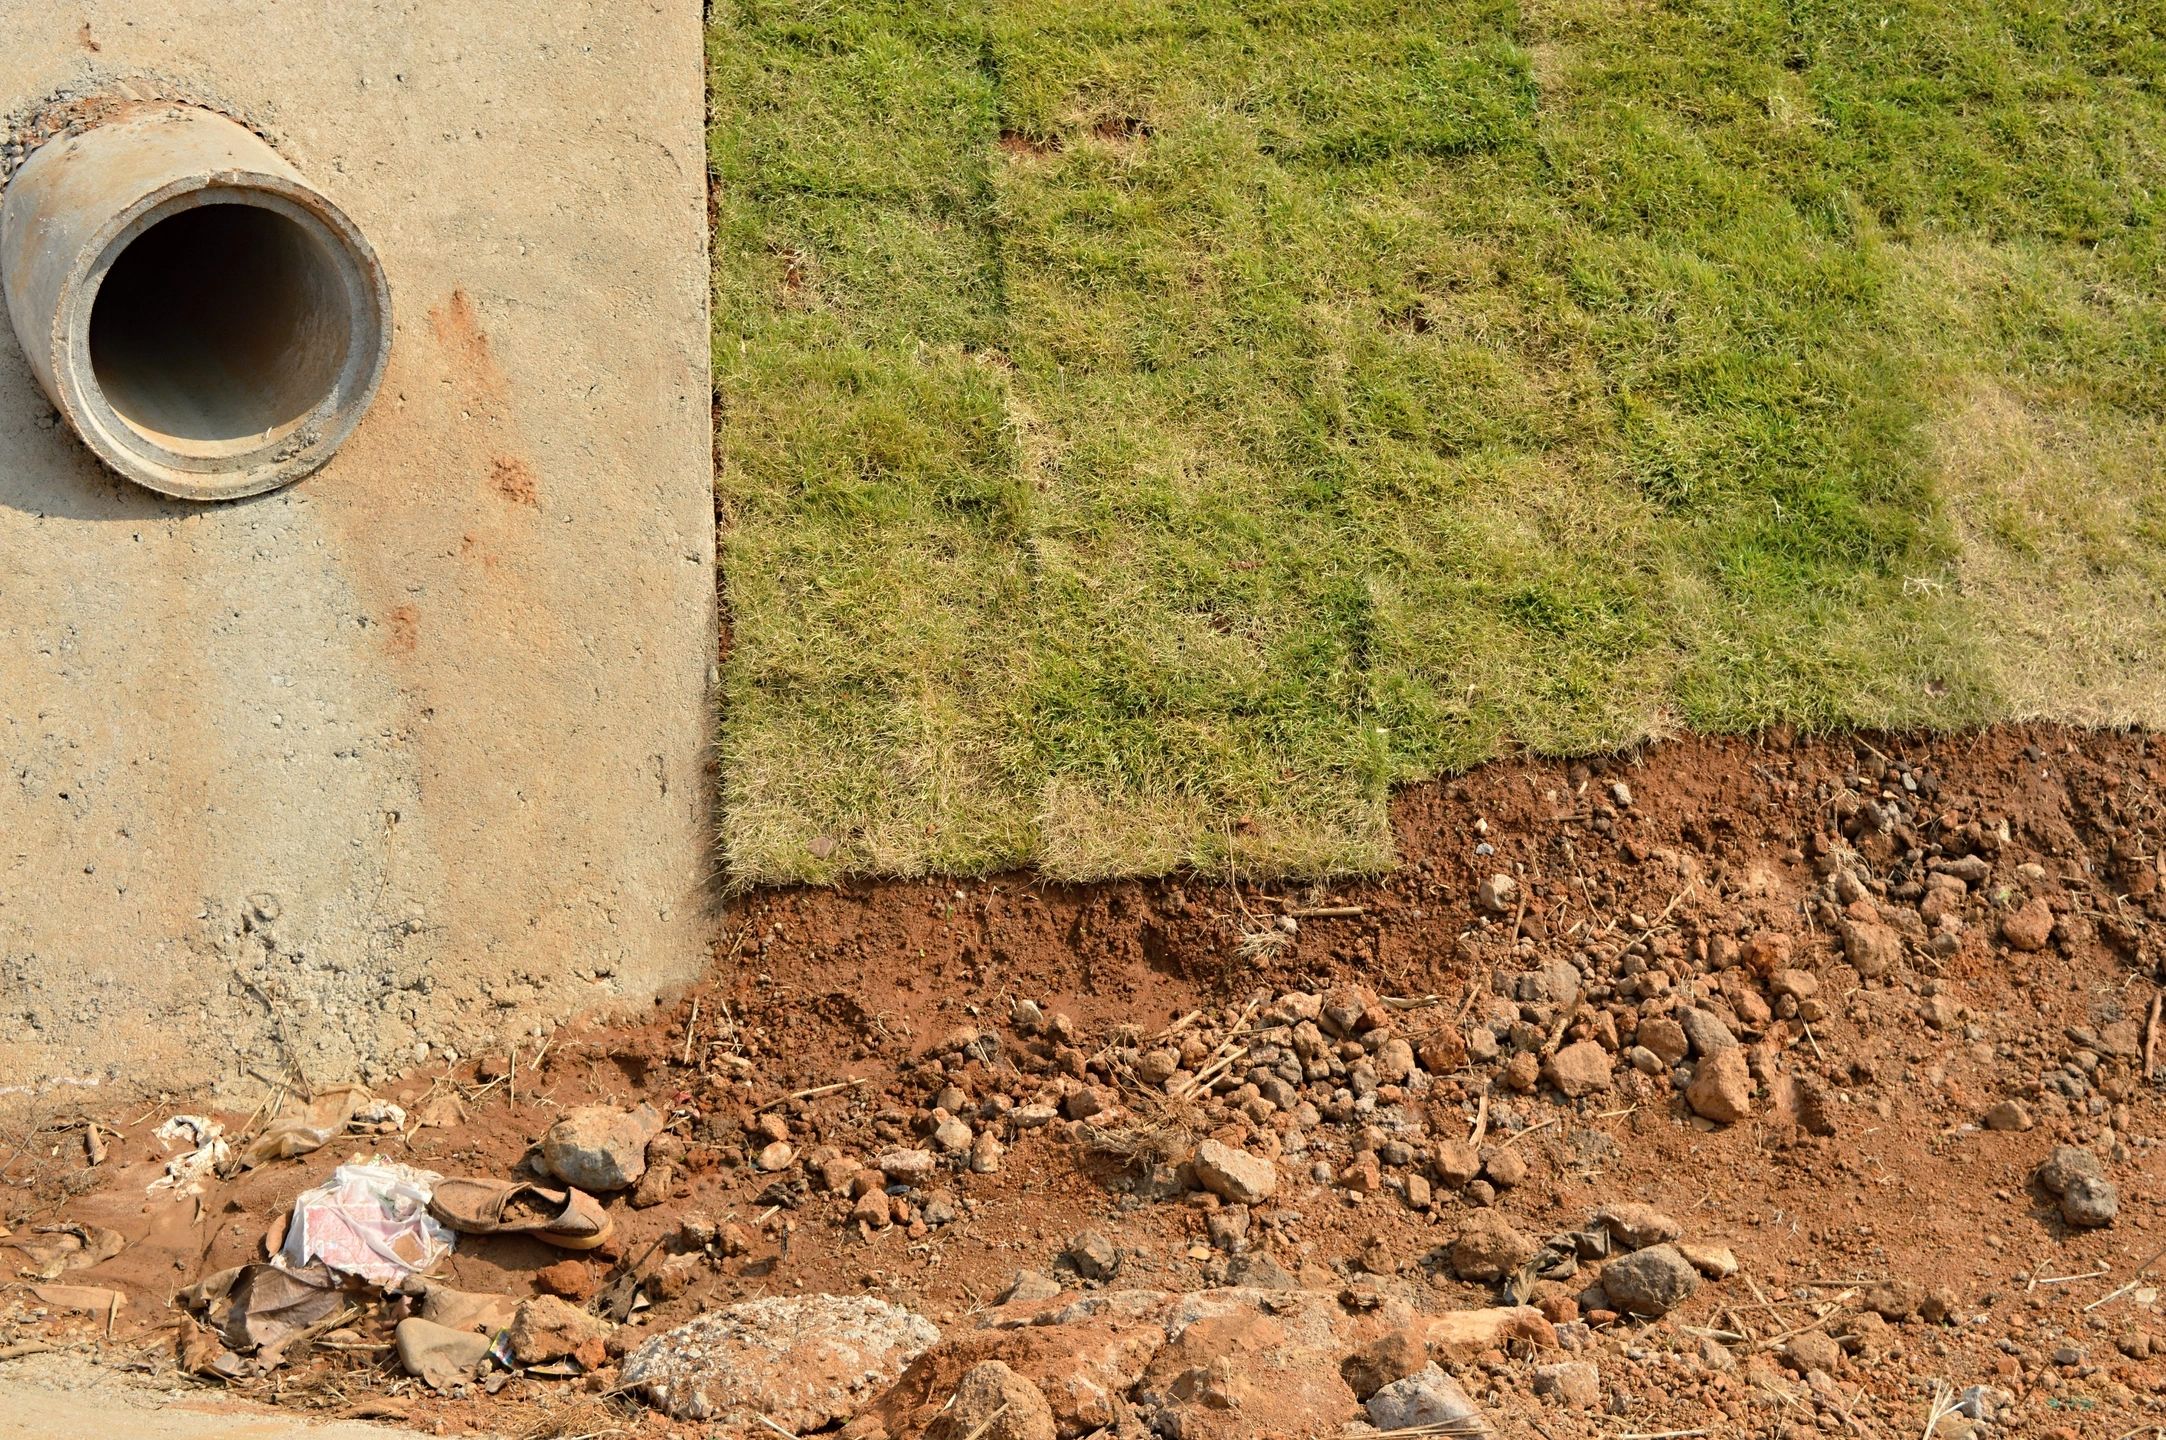
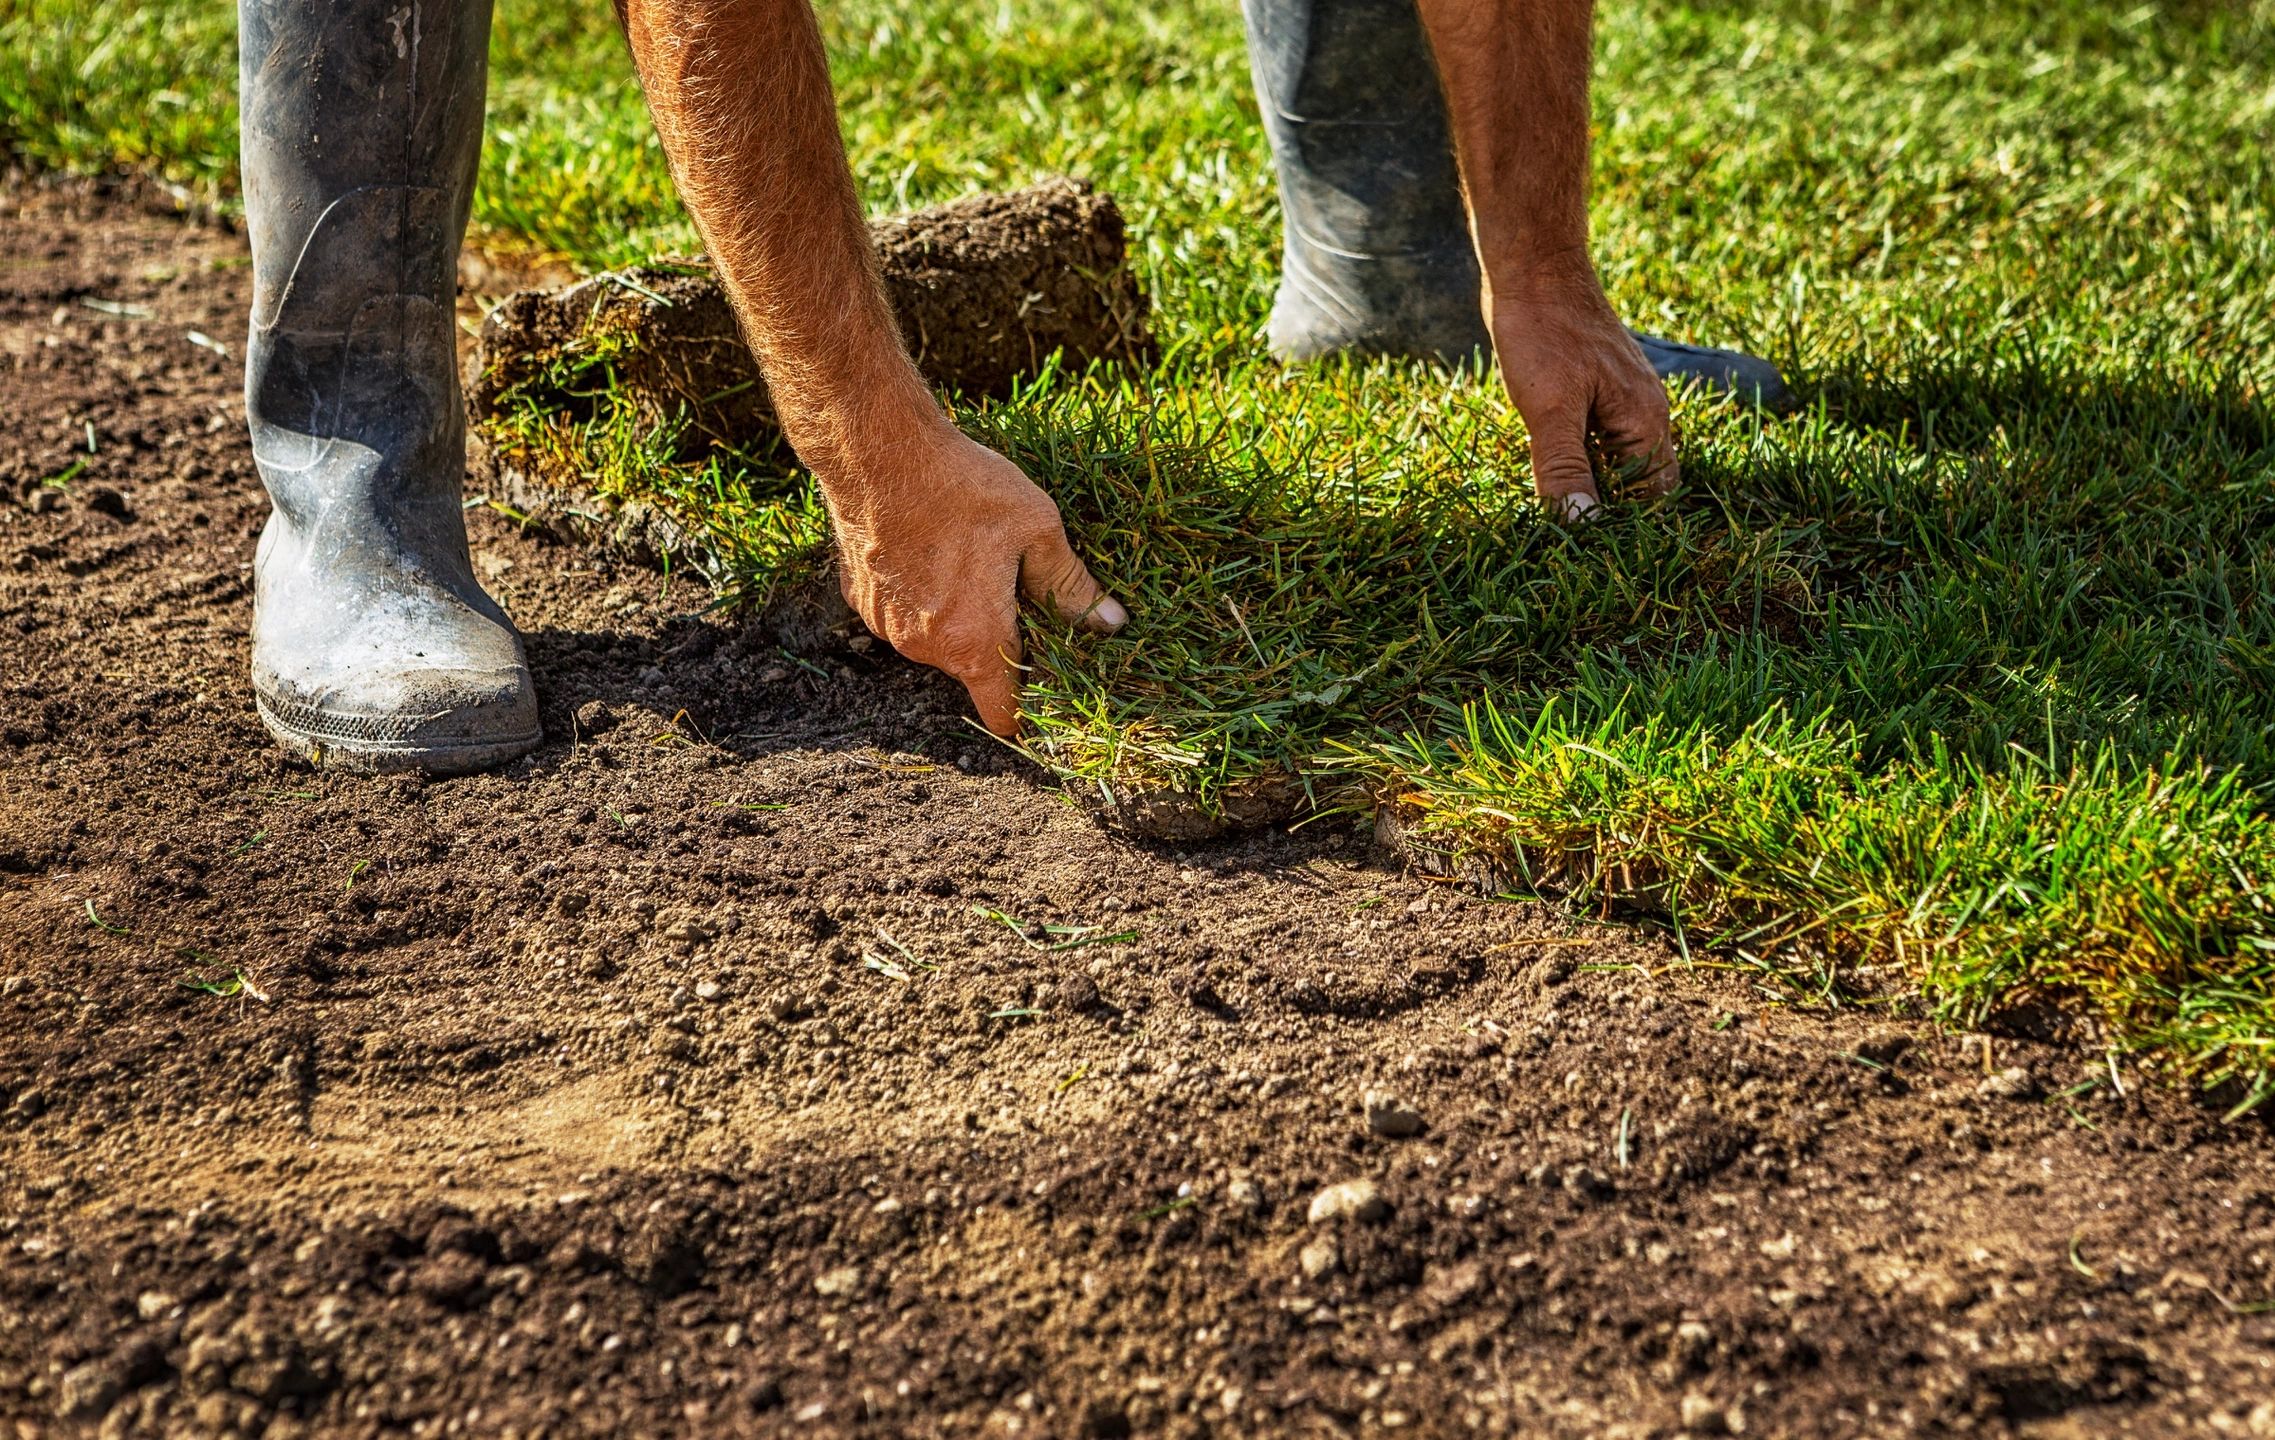
Lay the first pieces along the longest straight section such as a sidewalk or driveway (This will give you a straight line to follow).
Make sure to butt edges and ends as close as possible to avoid gaps. Stagger the joints in each row so that the end seam on one row falls in the center of the previous row. If you have a slope you should lay sod perpendicularly across the slope to prevent it from sliding.
Roll the sod after install to remove any air pockets and establish good root contact with base. Avoid standing on newly planted sod; if necessary use a board while installing to help distribute your weight.
